Using This Guide
Using this guide
-
You should follow the instructions in this guide in order, making sure that you do not miss any parts.
-
Scroll down to the bottom of each page before moving on to the next. The yellow left and right buttons, < and >, go to the top of the previous/next page. Make sure you do not miss any instructions that are lower down on the current page.
-
Screen shots are used to make clear what you should see and do. They are marked with red boxes to show you where you need to click or enter input.
-
The notes, like this one, tell you what you need to do and explain the reasons why.
-
When you see
text with asymbol next to it, that means that you can copy the text to your clipboard by clicking on the symbol. -
When you see a
block of text
like this
you can select all of it in one go by clicking on the symbol in the top left corner ready to paste where it is needed.
-
You can click on links that look like this.
-
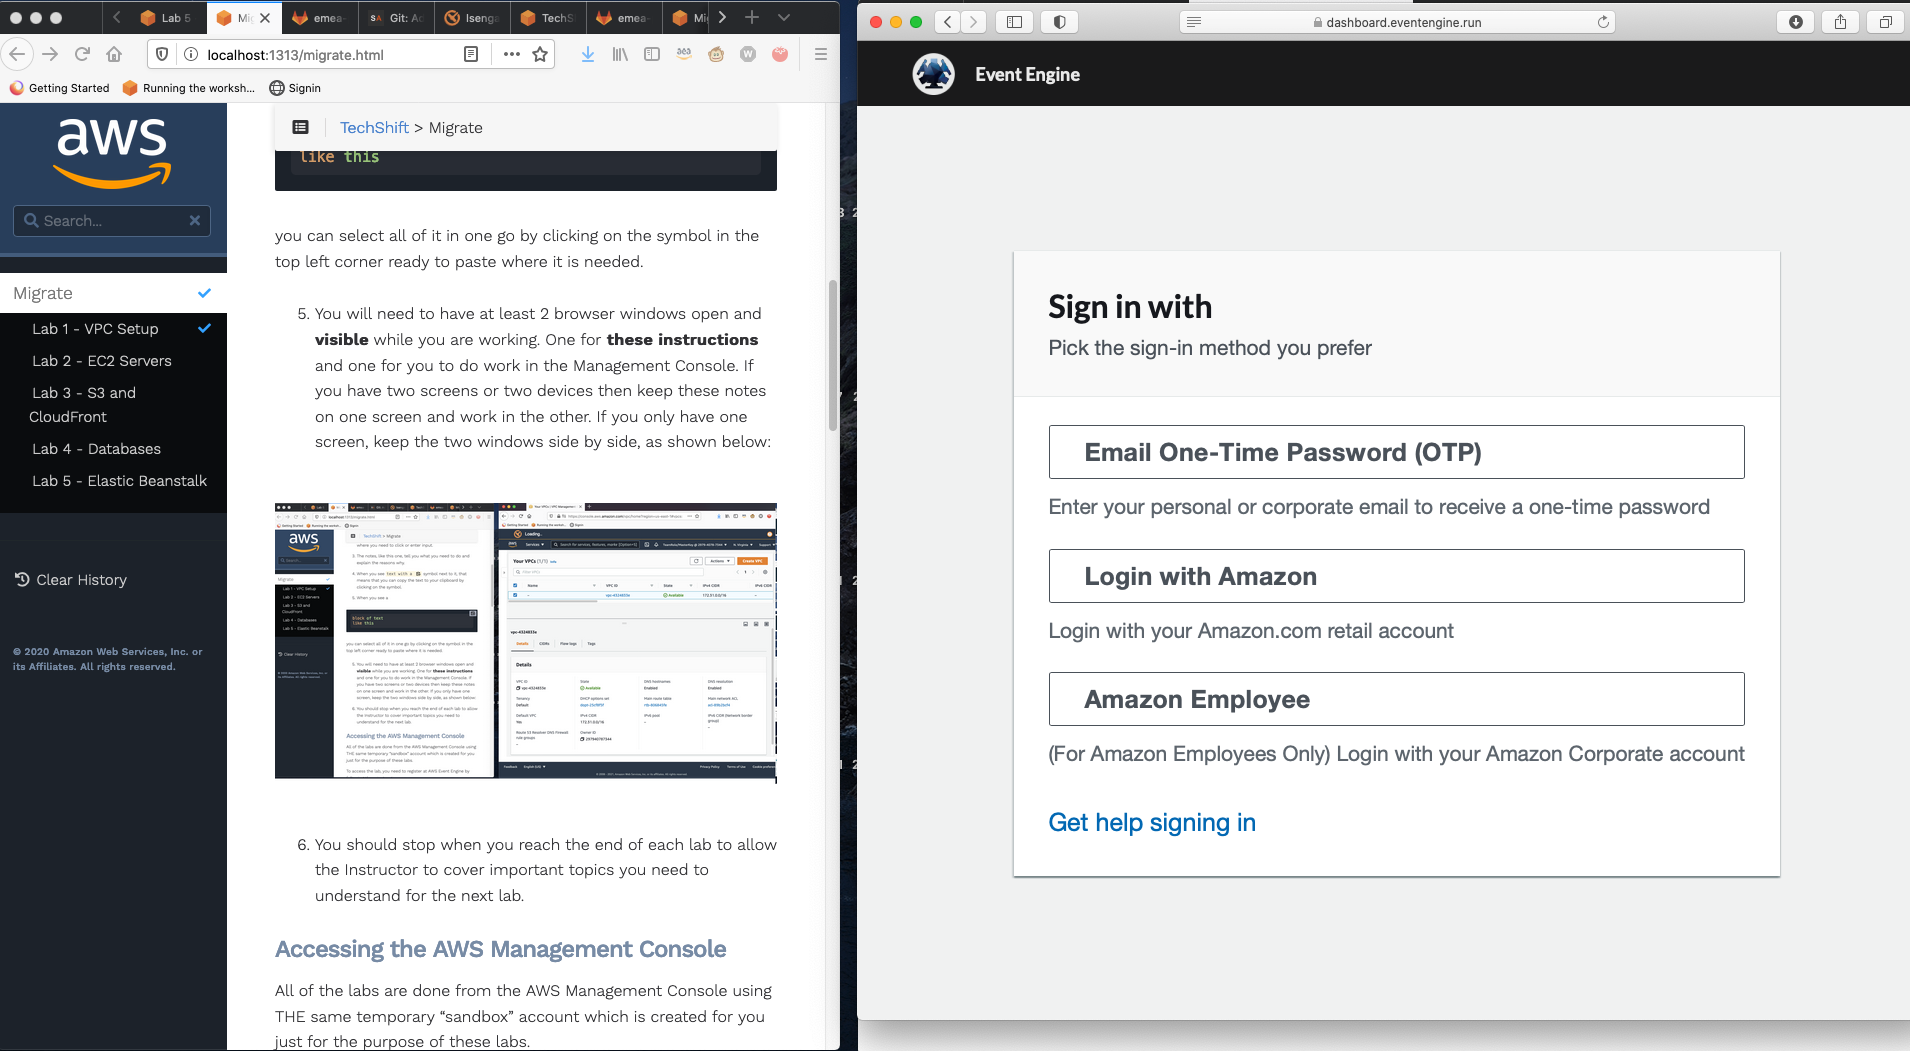
You will need to have at least 2 browser windows open and visible while you are working. One for these instructions and one for you to do work in the Management Console. If you have two screens or two devices then keep these notes on one screen and work in the other. If you only have one screen, keep the two windows side by side, as shown below:

-
This lab guide is based on how the AWS console looks as at the time of writing (June 2021). However, the AWS Management Console is constantly adding new features so it may have changed slightly from these instructions. For example, titles might say “Manage” instead of “Edit” or input areas might have changed their order on the screen. But all the functionality you need should be there somewhere even if it has changed position slightly.
-
If you are having problems with a lab, first recheck the instructions in case you have missed something and then, if that does not help, ask your Instructor(s) for help via the training chat.
-
You should stop when you reach the end of each lab to allow the Instructor to cover important topics you need to understand for the next lab.