Create and Run a Replication Task
Configure and Run a Replication Task
- Still in the AWS DMS console, go to Database migration tasks and click the Create Task button.

-
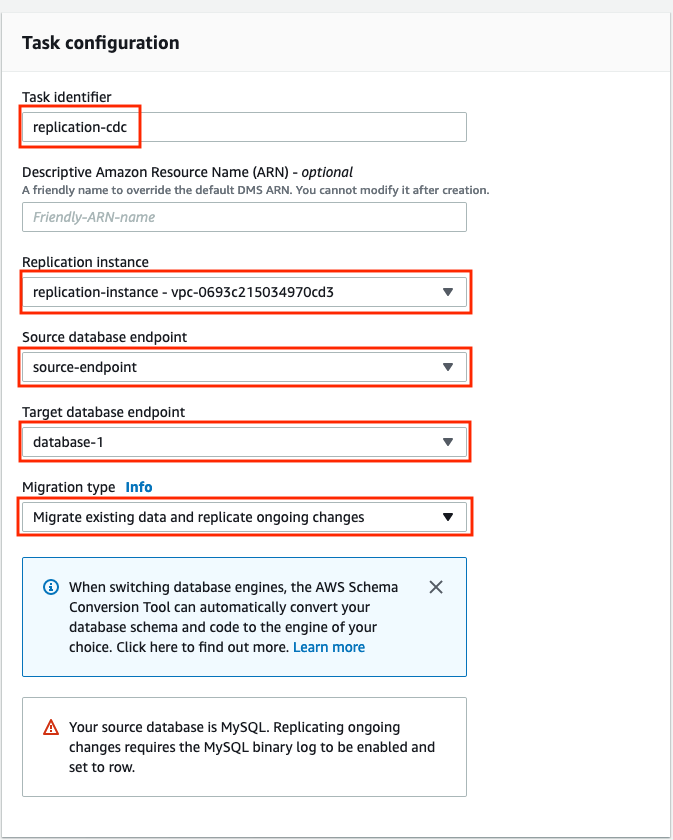
Enter the following parameter values in the Create database migration task screen:
Parameter Value Task identifier replication-cdcReplication instance replication-instance Source endpoint source-endpoint Target endpoint database-1 Migration type Migrate existing data and replicate ongoing changes 
Notice the warning about enabling MySQL binary row level logging, which you already did when you configured the source database.
-
In the Task settings panel enter the following values (leave everything else as default):
Parameter Value Editing mode Wizard Target table preparation mode Do nothing Enable CloudWatch logs Checked Enable validation Checked 
-
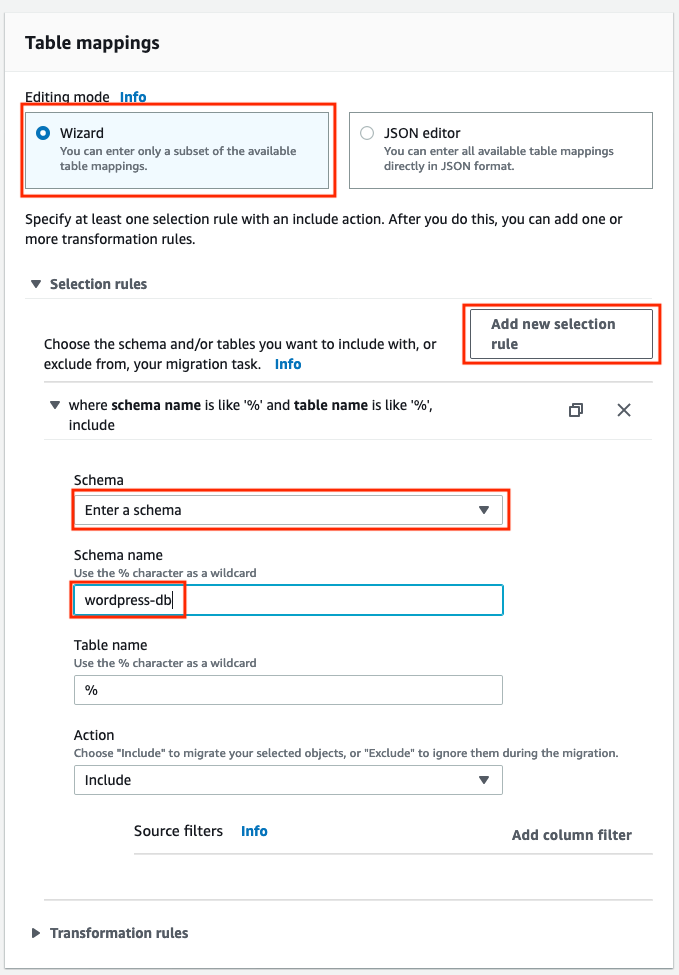
In the Table mappings panel select Wizard mode, press the Add new selection rule button, pick Enter a schema in the Schema drop-down and then select wordpress-db in the Schema name drop-down.
If you don’t see wordpress-db on the Schema drop-down, select Enter schema and type wordpress-db into the Schema name field.

-
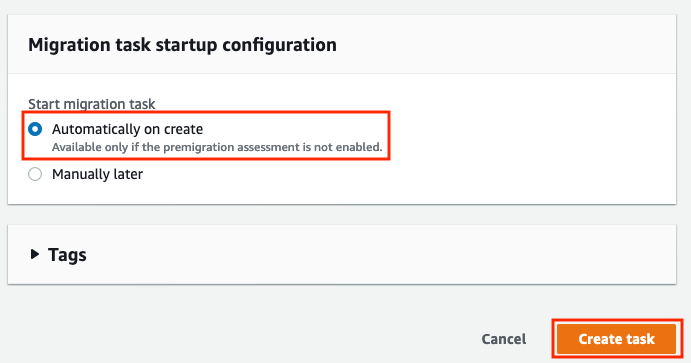
Scroll to the bottom of the screen, check Automatically on create is selected in the Migration task startup configuration and then click the Create task button to create the task and start the data replication.

-
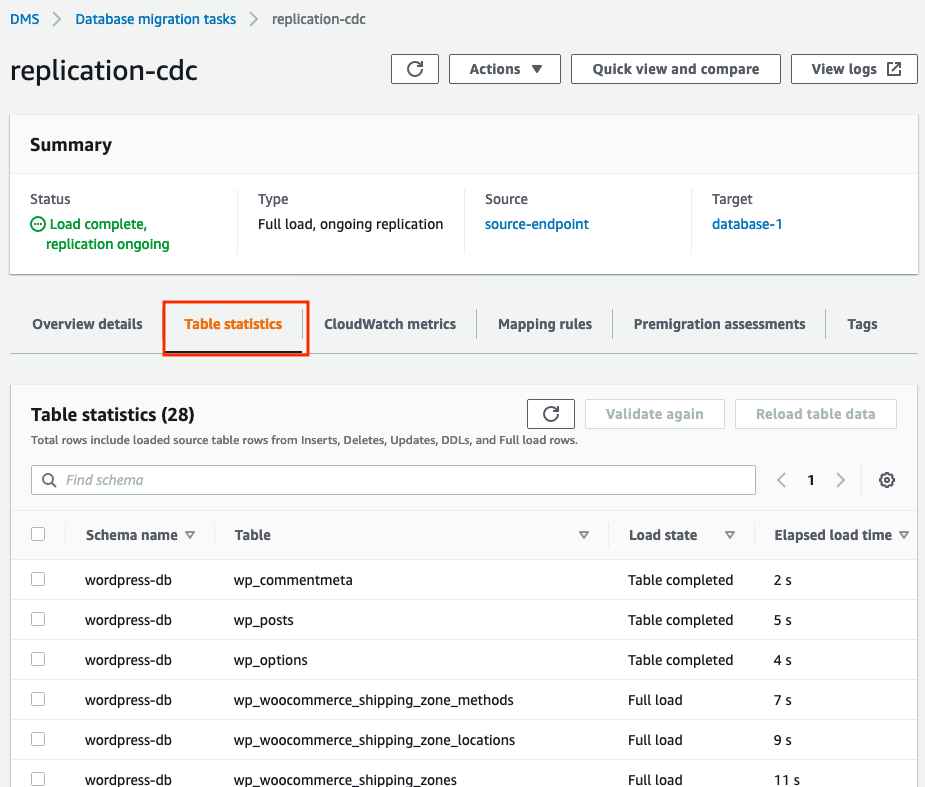
Once the task identifier changes colour and becomes clickable, click on it. You may have to use the on-screen Refresh button (pointed arrow in a circle) a few times before it becomes clickable.

-
Select the table statistics tab and once the task is running, you can review it’s details to see information about tables and number of rows that are replicated.

-
While the replication is running in the background, we can move on to the next step to see a summary of what we have achieved.