Update server details
-
From the Source servers list in the AWS Application Migration service, click on the Hostname of your server. On this page, you can use the tabs to review the following information:
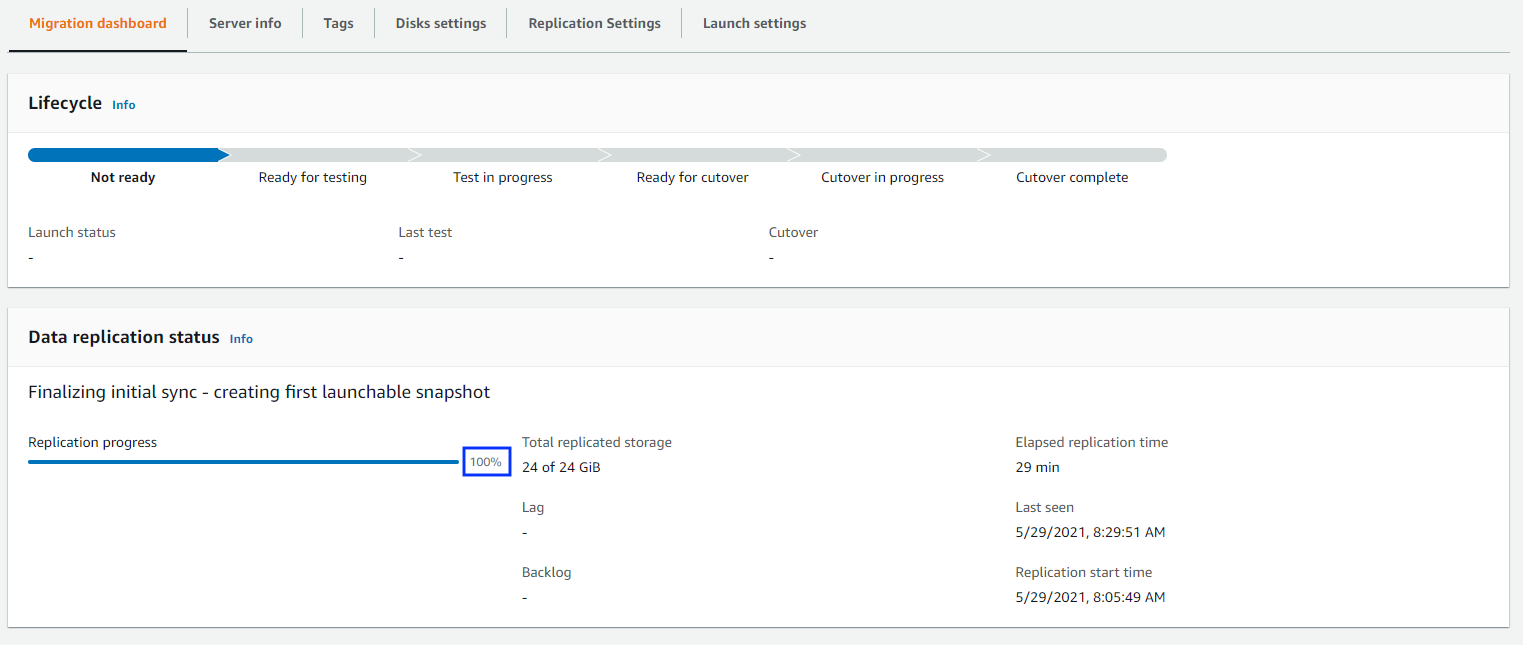
a) Monitor progress of replication
Initially the progress bar will show 0%, but this will grow as the data is copied from your source server into target AWS environment. It will take ~30 mins for complete replication of this webserver.
b) Review retrieved Source Information
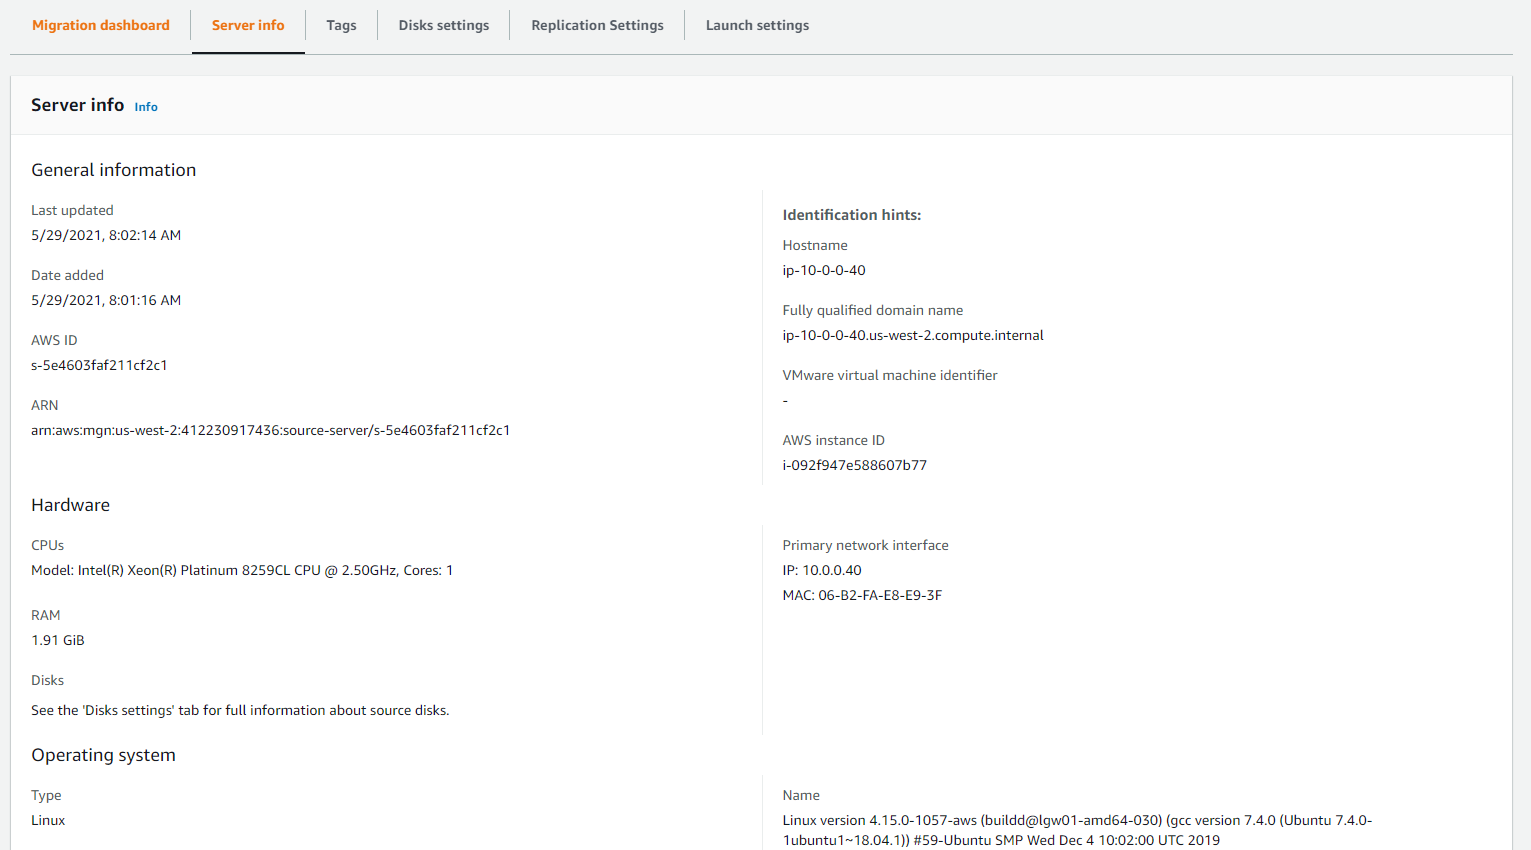
In the Server Info section you can review information retrieved about the source server
You can also see the recommended machine type to use when it is started on AWS
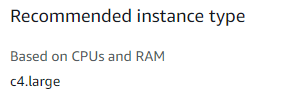
You can always override this recommendation in Launch settings.
c) Review Tags
In the Tags section you can see and manage tags applied to the replication itself (note these are NOT tags to be applied to target server after the migration).

d) Review Disk settings for staging area
To save cost, Application Migration Service uses by default Standard HDD disks for any data replication volumes smaller than 500 GB. In the Disks settings you can override this staging disk type.

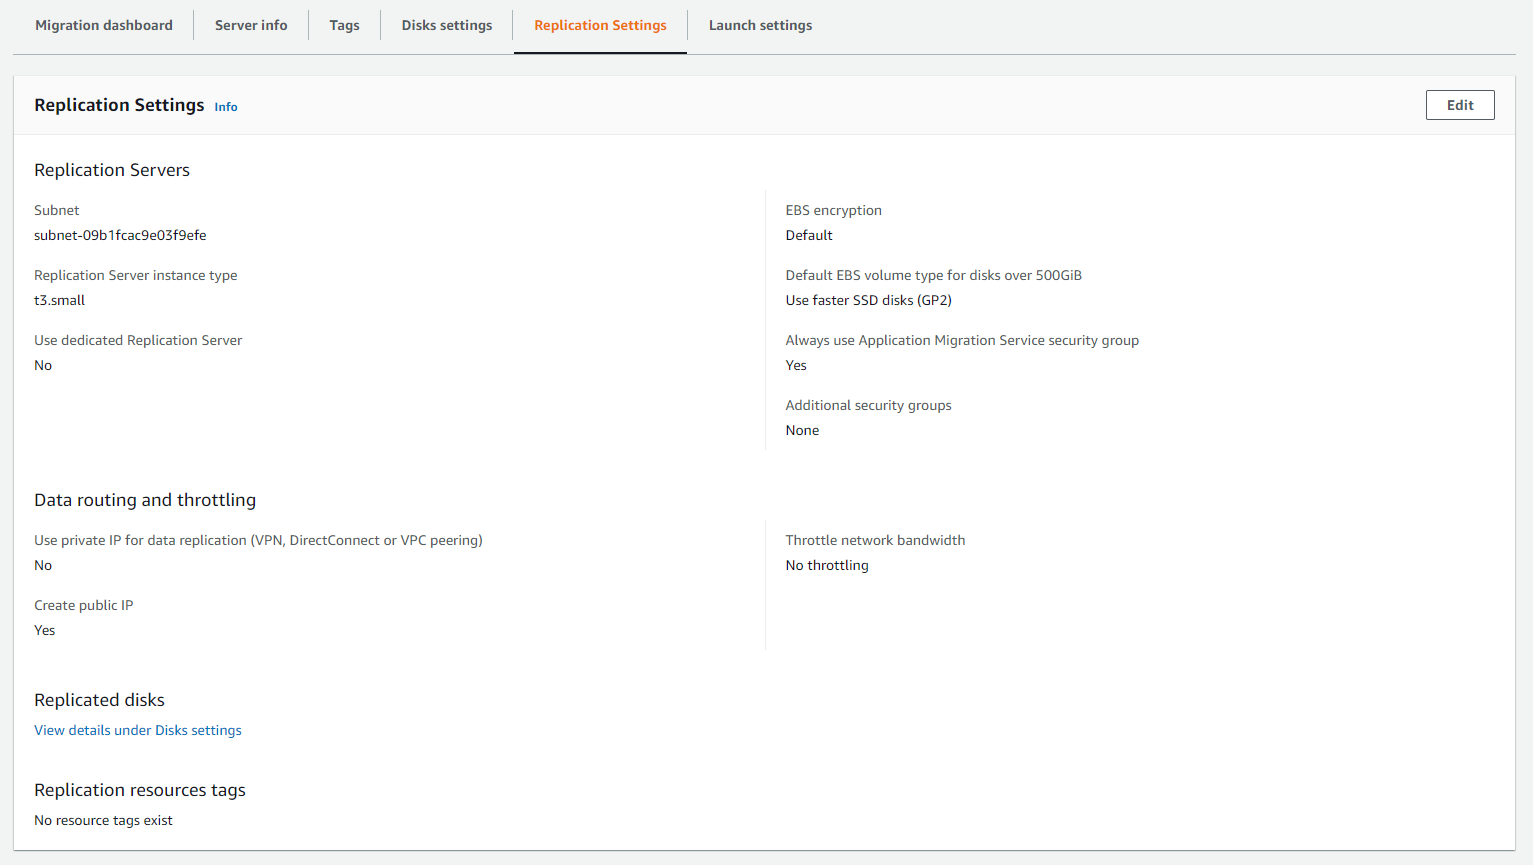
e) Review replication settings
On this tab you can configure custom replication settings for a specific system. It can be especially useful for servers that experience significant amount of changes on their disks. In that case you may want to change the Replication Server instance type to one with more bandwidth and assign a dedicated Replication Server.
f) Review Launch settings
Under the Launch Settings tab you can configure details of how the EC2 instance launched for the replicated system is configured in AWS. In the next two steps we will disable automated right sizing and define our desired configuration of the target EC2 machine.
-
Disable rightsizing
Click Edit button in the Launch settings section.

On the Launch Settings page, change Instance type right sizing to None, then click Save settings. Although, generally, rightsizing is a good idea to optimize cost, in this case we will do it manually in EC2 Launch Template.

-
Modify EC2 Launch Template
Click on the Modify buton in the EC2 Launch Template section and confirm you want to Modify the launch template.

Review various options available at the Modify template (Create new version) page, by clicking on the Info link next to each section title.
When you’re done - scroll to the Instance type section and change selection to t3.micro machine instance type. You can easily find t3.micro in the list by typing the first two letters
t3as shown below: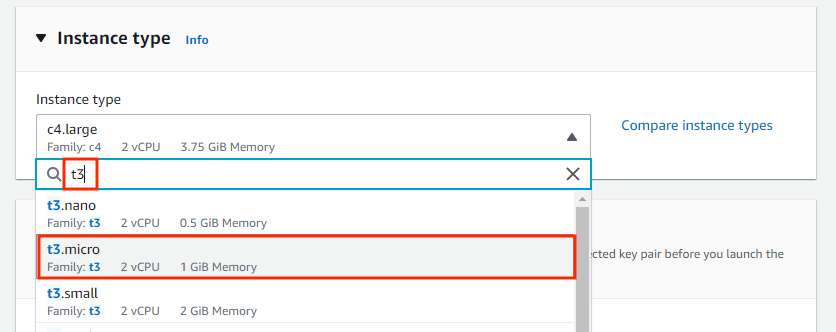
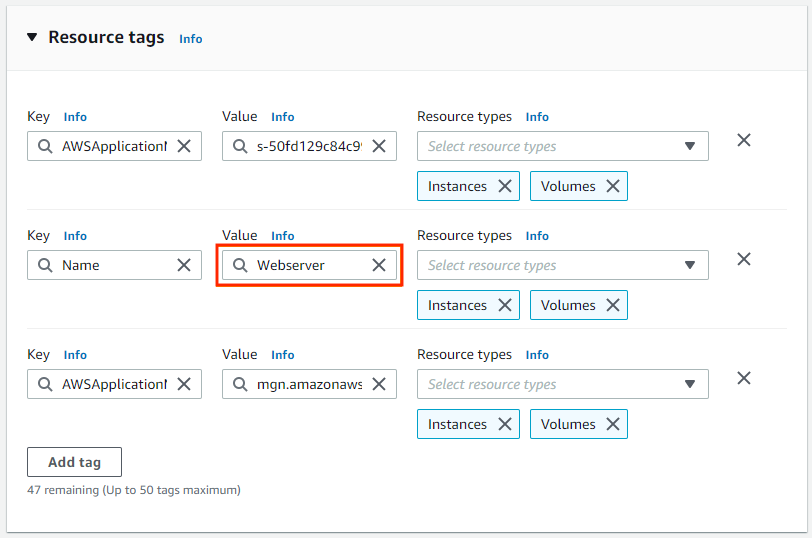
Then in the Resource tags section change the Name tag value to Webserver, as on the screenshot below.
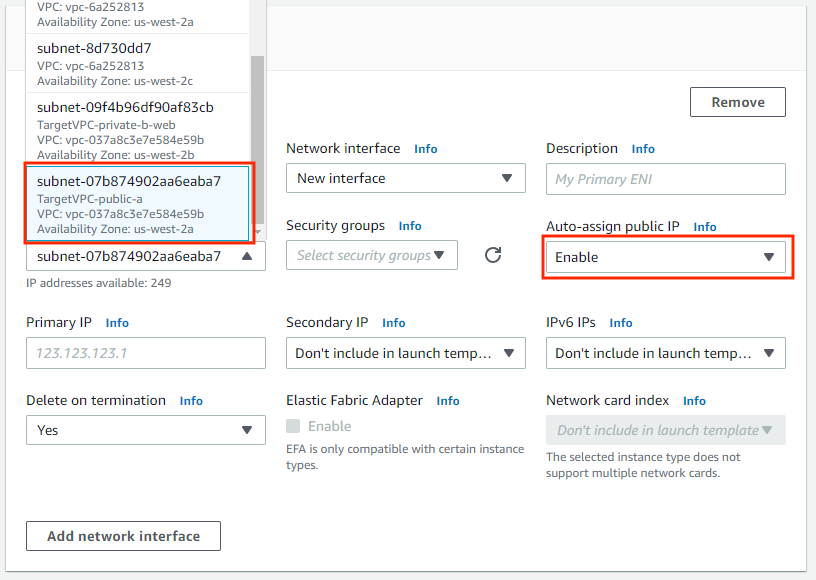
Finally in the Network interfaces section, for the first Network interface, set Auto-assign public IP to Enable to make sure webserver will be accessible over public IP and select TargetVPC-public-a as the Subnet - this is where we want our webserver to run after the migration.
Scroll down and click Create template version button.
-
Update default EC2 Launch Template
- Click on the name of the EC2 Launch Template

- In the Launch Templates screen go to the Versions tab
- Select the latest version by clicking on the radio box on the left
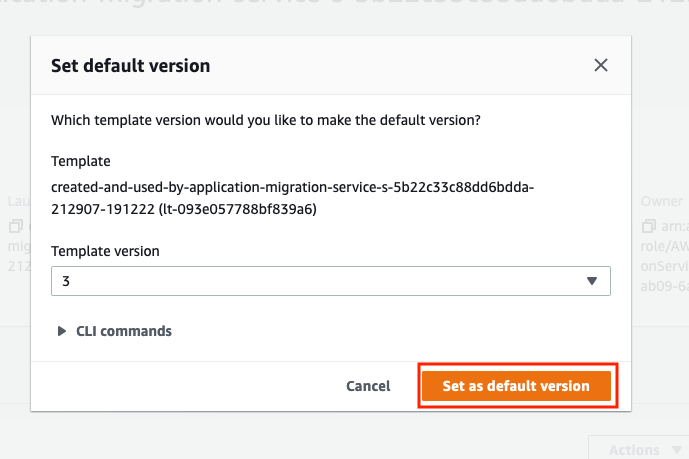
- From the Actions menu select Set default version

-
Confirm changing of the default version in the popup
-
Go back to the Application Migration Service screen, click on Hostname of the source server to get back the tabs with details of the migration.
While waiting for the Data replication status to become Healthy (it should take ~30 mins), you will normally return to the class for your instructor to tell you more while waiting for the server. Alternatively you can review the parameters you can use for the agent installation, see how agent can be installed on Windows (if you plan to do Windows migration in the future) and additional information for installation of agent on a secured network.
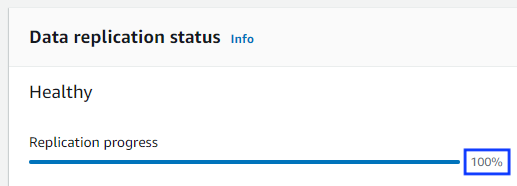
When the Data replication status is Healthy, your next step is to launch a test server.